We had put together a selection of quirky images to project and group members use these by projecting them onto paper and painting. Some combined two or more images to good effect capturing the spirit of the style of working. We used acrylic, thick and very watery depending.
WellArt is part of the Community Group Space2Create which aims to promote wellbeing through creative activity. WellArt is a drop in art session where anyone with mood difficulties or feeling isolated through circumstances beyond their control can come and take part in creative activity. Sessions are very creative, full of laughter and help individuals to be part of a community full of care and support.
Sunday, 17 February 2013
The day we pretended to be Uwe Wittwer!
After a visit to the Abbot Hall Gallery exhibition of work by Uwe Wittwer the groups was feeling inspired and keen to recreate his method of working. This time we brought a laptop and projector so we could. Uwe uses the projector to select bits of photo or art work to work from creating a unique almost negative reinterpretation of artworks and images.
We had put together a selection of quirky images to project and group members use these by projecting them onto paper and painting. Some combined two or more images to good effect capturing the spirit of the style of working. We used acrylic, thick and very watery depending.
Sunday, 10 February 2013
The day we reduced great art to sticks!
This was an exercise in looking at some famous paintings and exploring the elements and composition. We endeavoured to reduce the pictures to their basic elements and use stick figures and simple lines to recreate them.
As we worked people began to notice things about the pictures they had not seen before and discuss the arrangement and how the image might have been constructed.
Tuesday, 5 February 2013
The day we made a 3D scene.
This is a really simple idea. You first of all make the sides, like a fan, fold pieces of card in half until you have two corregated side bits. Then you need around five slides. You cut the middles out but to create the perspective you have the front slides opening wide and get smaller as you go back. The back slide can be opened up and a layer of tissue paper put in to allow light through.
Then you cut the models. This can be anything. For example trees. These need to be big for the front but get smaller as they go backwards. Glue these to the back of the cards. You then slot in the sledes between the side fans and glue them in place. Best to do the front and back first. The 3D scene can be flattened or opened out. They look reall effective in a window.
Monday, 4 February 2013
The day we lost our marbling..
Marbling is a simple process that can go badly wrong. You need a flat tray of water, some reasonable paper and some marbling inks which can be purchased from any shop selling artist materials or in craft shops.
The ink is carefully dripped onto the surface of the water where it floats. If you put drops of two or three colours that is enough. Then use a comb or stick to gently swirl the inks into a pattern or random swirls. The paper is then gently lowered over the surface and left for a few second to absorb the ink from the water surface. Fish it out and place it on a rack to dry.
This is one of those activities that you get better at with practise!
After a while you could try marbling envelopes or other paper. We also tried working over the top of these, using them as backgrounds and in collage.
Sunday, 3 February 2013
The second day of intertwinning!
This was the second session just to give people a chance to finish off some of the pics thay started. (We also did marbelling but thats the next post!).
The day we got our hands dirty.
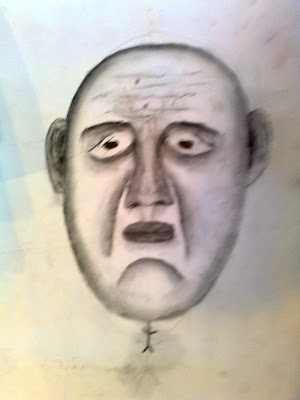
We spent a couple of sessions messing around with charcoal and attempting portraits which many of us had never tried before. We spent some time looking at proportions and then all had a go at a portrait from the same picture. Needless to say no two were alike. Then we all had a go at some different people, some famous and some real. It was good fun and we all ended up covered in charcoal!
Subscribe to:
Posts (Atom)